
Reusable Snack/Sandwich Bags
Do you have a fear of the sewing machine? Do you want to sew, but think it is too hard? This is SOOO EASY! In addition, you can save 2-4 dollars a month on ziplock bags for your kids lunches, help lessen land fill overflow, be green, and be oh so stylish. OR you can go to Etsy and their are plenty of sellers who sell these bags from $2.50 - $8.00 a piece
YOU WILL NEED:
- PUL (polyurethane laminated fabric) in any color or style (available at fabric stores) or oilcloth or you can just use cotton.
- A cute cotton print...you can even use the cheaper quilter's squares available at fabric stores.
- Scissors or rotary cutter
- Ruler and/or cutting mat
-Thread (multipurpose is fine)
-Velcro sticky or not
READ ALL THE INSTRUCTIONS THROUGH BEFORE YOU BEGIN.
1. Start with a rectangle any size you want. You can do several different sized bags for different items. I cut mine to be a generous sandwich size,
You want to cut one piece or PUL and one piece of a cotton fabric (quilters fabric is fine). For this demo...which is the first time I have ever made one of these :).... I have picked something a little manly for my husband, however, he is stuck with the PUL fabric I got for my kids with polka dots. It is inside, he shouldn't mind. lol


2. Place the right sides together. You can pin them if you like...I am not a pinner, so I did not, but once finished...wish I did as it puckered a bit.

3. Sew in a straight line along all sides of the rectangle. When you start to get close to the end (the point where you started)...maybe two inches away...stop and lock the stitch. The example is the picture below on the right. If you are unsure of that...comment and I will explain (for my inexperienced sewing followers).


We leave that opening so we can turn it right side out or in or....whatever you want to call it. :)
4. Pull it right side out.


5. At this point you will have a little opening as shown below. Fold the edges in, pin if you like, and sew it shut.

6. Continue to sew around the entire piece in one big rectangle...top stitch.
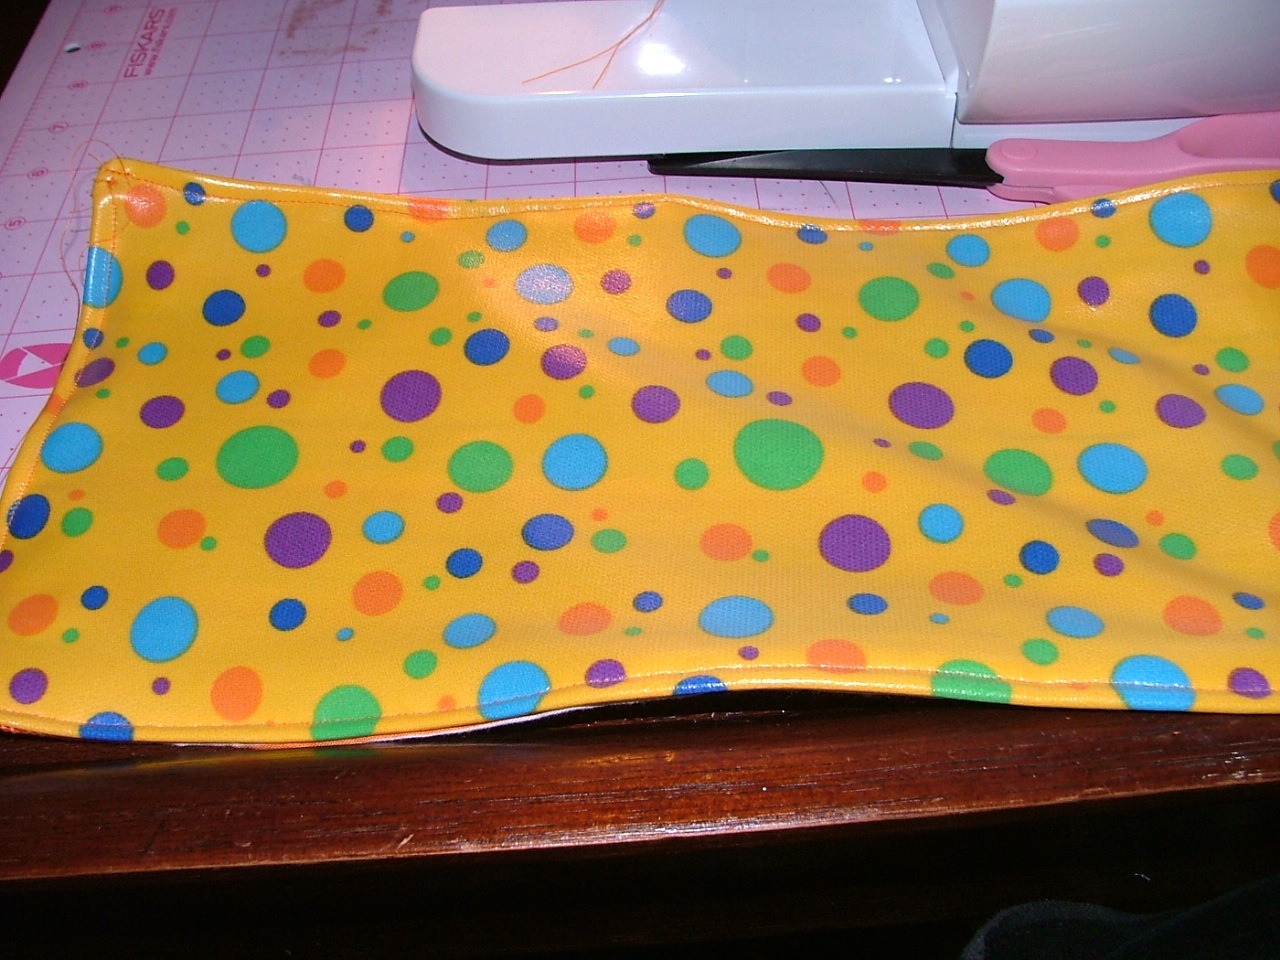


Once you are finished sewing it will look like a little pouch
 O
O
***You can also do this step of sewing on the Velcro when you top stitch ***

TA DA!!!!! If you try this at home, I would love to hear your thoughts. Also, upload some pictures of your finished products.


Shabby Chic Ribbon Rosettes
Here is my first tutorial! Bear with me as I am new at this. :) Of course, now after I looked at my pictures I realized I should have repainted my nails and put on a bra for the pixes!!! lol Oh well...the life of a mommy.
YOU WILL NEED:
Fireplace lighter or lighter or other flame source
Satin ribbon...any color and any size, but 1 1/2 inch width is easiest to work with
scissors
hot glue
Rhinestone jewel, antique button, or pretty button, or small brooch or pearl (anything you may want to put in the middle.
YOUR IMAGINATION
So I have been seeing lots of burning of satin in many Etsy projects. I have seen really cool flowers made from what looks like burnt satin. These flowers are great for embellishments on your favorite outfit, glued to a headband or a barrette...you could even pin it to a plain purse to give it some life. I thought....how can I make this. I had no satin...but I do have lots of satin ribbon. So this is my tutorial on my take of these beautiful flowers I have been seeing. I have no idea if I am doing this right...going by the seat of my pants, but I like the way they turned out! If you do this tutorial at home...please share your pictures! I would love to see what you come up with. Remember where there is fear...THERE IS NO CREATIVITY!!!

 The first step is to pick a ribbon you like. I am sure you can use any width ribbon...this one pictured here is an inch and a half wide, but the polka dot flower was made out of much thinner ribbon.
 Once you have your ribbon, cut it into 2-4 different lengths. I cut these into two different lengths to make this simpler. Not sure the exact lengths.


 If it burns a little to much on one side, burn it a little more on the other to make it more even, but remember flowers are beautiful because of there imperfect uneven edges.
  You can see here how much you need to burn it. Try not to blacken it too much...hence the waving the flame technique. If it starts to flame on the ribbon on it's own...blow it out. OBVIOUSLY NOT FOR CHILDREN TO DO!
 I noticed that if I burned the sides of the ribbon, not just the edges, and went from under the ribbon, it starts to curl like the one pictured here on the left. I think this makes for prettier and more realistic petals. If the ribbon curls the opposite directions, turn it over or just use your fingers to bend it the other way and keep burning.
 Once you have all your "petals" (ribbon pieces burned on both ends), it is time to create your blossom. Here comes the HOT glue! You will basically be layering the petals on top of each other with hot glue to make them stick to each other. The first two you can layer like an X or t.
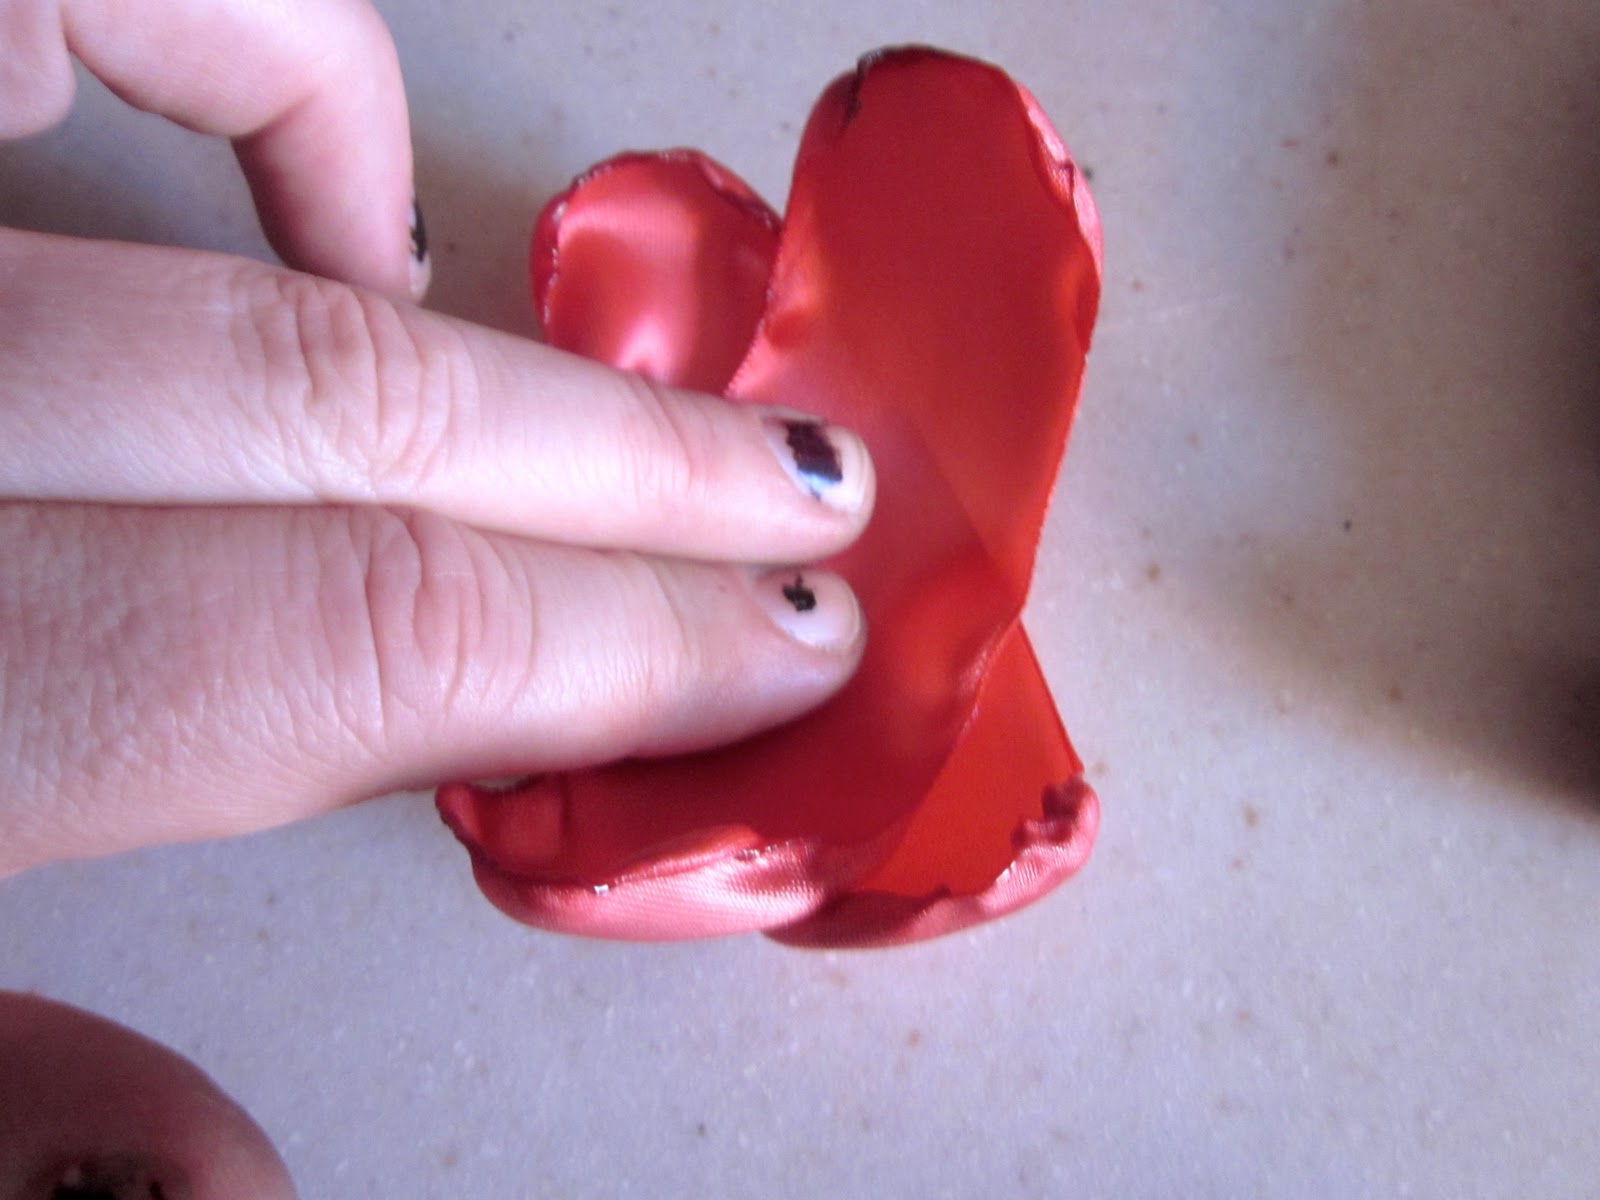
You can also just offset them a bit from each other like shown here.

 Once you have layered a few, here I have layered 5 in the picture on the right, you should see a little curved up cup. Like the picture on the right. You can keep on doing this with smaller pieces of ribbon and keep layering it until you like it or you can go on to the next step to give it a bit more lift.

You want to next, take the smaller pieces of ribbon and you can already pre-burn them or do how I have here...which is bend them into place first, and then bun them. You bend the piece at an angle making it look like a V and then hot glue in the center...the result is pictured on the right.


This is me burning it once it is bent, don't know if you can see it that well in this pix. The picture on the right is what I had before I started burning the bent pieces.


Once all the bent pieces are burned...you can glue them inside the blossom cup, layering them at different angles as you go. Think of what a rose looks like in full bloom or a peony.


On the right is what it should look like...somewhat...when it is ready for the finishing touch.
At this point you can think about what you have to put in the center...an antique button or there are plenty of rhinestone, antique-looking buttons at craft and sewing stores. You can use a rhinestone or a pearl or whatever you can think off. I have even used an antique brooch.

This is with a rhinestone.

This is with an antique button.


You can buy one these pins at craft stores. They are self adhesive, but TRUST ME...hot use hot glue to attach the flower to it if you want a brooch like flower to wear on your clothes or pin on a plain bag.


Here is another flower I did on the left and added it on a purse with other things. The flower on the left I did not burn the sides of the ribbon very much, so you can see it does not cup up like the one on the right.
I hope this inspires you and I would love to see what you come up with!!! HAPPY CRAFTING! Ciao!
No comments:
Post a Comment