
MAD HATTER'S TEA PARTY

I am way too creative for my own good. Probably a good thing that I don't work outside of the home or I would REALLY be an insomniac...which I already am.
Recently we moved from Savannah, GA to Western Ma. My girls were going to have their birthdays way after the move and I knew they would not have friends yet, so I decided to throw this BIG Mad Hatter Tea Party for them to say goodbye to their friends. I had been planning it for MONTHS...then the day of...I had a raging fever...figures. But the SHOW MUST GO ON!!!! As we say in show business. Here are some pictures from the party to inspire you and give you some ideas.

"Please don't be late for Gwyneth and Logan's Mad Tea Party Date!" Then the dates so they could "save the date." At the bottom, much lower I typed...formal invite to follow.
I hole punched it and tied a pretty ribbon. In the stores, I bought mine at Walmart, you can get magnet sheets with a sticky back on one side and laminating paper you do yourself (no machine). I laminated each one and then stuck it to the magnet sheets so that the parents could put this "Save the date" on their fridge. I cut out some tea pots out of different kinds of scrapbook paper and made lil pockets out of them. In them I put the "save the date" card and a spot of tea. :)


When it came time for the formal invite....being the actress that I am, I created an extra special invite. I wanted it to be very magical for the children so I went on my Garage Band and created an invite on a CD with the Tea Party song on it and "Alice" (actually my own voice...I used to be a Pre K teacher and am an actor... so that will explain the alice voice. :) ) inviting them and setting up the surprise of the day...when the Red Queen crashed the tea party. I also used some quotes from the the Wonderland literature. You can hear it here:http://www.podsnack.com/playlists/acca39f1888f8ece67a8e265a1064563
It is quite amusing right? lol The kids loved it and could hear the song at the end of Alice's rant.
I got a picture of a red queen playing card on the internet and typed out each child's name on the picture and printed it. I cut each one out with rounded edges and made it look vintage with brown distressing ink. The Play Me tags are Martha Stewart tags I found at Micheals and then died with tea...to make them also look vintage. I stamped Play Me on them. You can see the inside of the invites below.


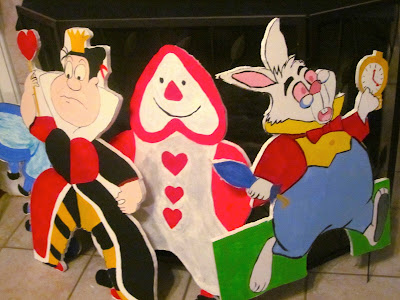
Now the next step was to research costumes...involve friends (that happened to be actors and actresses :)) and make props. I made these signs out of thick foam core board.
The flowers I bought at Micheals and then glued googly eyes on them and later lips like they were singing. I stuck them in some potted grass I already had that I bought at Target I believe.


I also had to think about what would the kids do at the party...eat yes...have "tea"...yes...watch the characters...yes....then what? I found some mugs (Micheals) that were plastic and had sheets of paper inside that the kids could color to design their own mug (shown above). They were 1.00 each. Cheaper than a treat bag. :) So as soon as the kids sat down...they started to work on those. I found other decorations like the yellow large mug above in Home Goods store. It was Spring, so I had a lot of options. We also had the kids decorate top hats. Prior to the party I made many of them out of different colors of felt and attached ribbons to them so the kids could tie them around their heads. Then i put out many different types of scrapbook embellishments I found at the store, sticky foam shapes, feathers, etc. for them to decorate their hats.
I wanted to incorporate croquet. Being the artist that I try to be....I decided to make the characters be the things we hit the balls through. I started to draw them like what you see below. I also had some help from our next door neighbor and my kids baby sitter, who studied art in college. We drew them on foam core board. Wood would have been more stable, possibly, but I did not have a saw to do that. Once they were drawn, I painted them with regular acrylic craft paint. I bought an old set of croquet mallets on Ebay. I cut drew and cut out pictures of different colored flamingos (different colored poster board) and attached them to the mallets. We used stuffed hedgehogs we found for the balls and I had balls I painted hedgehogs on. Although, I did see a great seller on Etsy who was selling felted hedge hog balls, but I had run out of money. :) (just search hedgehog on Etsy and you will find them). We put dowels into the bottom of the foam core characters and stuck them into the ground. If you are not artsy, but would love this set...I sell it here http://www.etsy.com/listing/82491462/alice-in-wonderland-croquet


The one bummer for this event, was that we had to have it inside. In Savannah, GA it was so HUMID and HOT we just could not bare being out there the whole time, especially with the Mad Hatter's costume and make up. I cleared out the furniture into other rooms of the house. I used friends tables, tables I had, friends chairs...I wanted it to be very mis matched. It also saved money renting them!


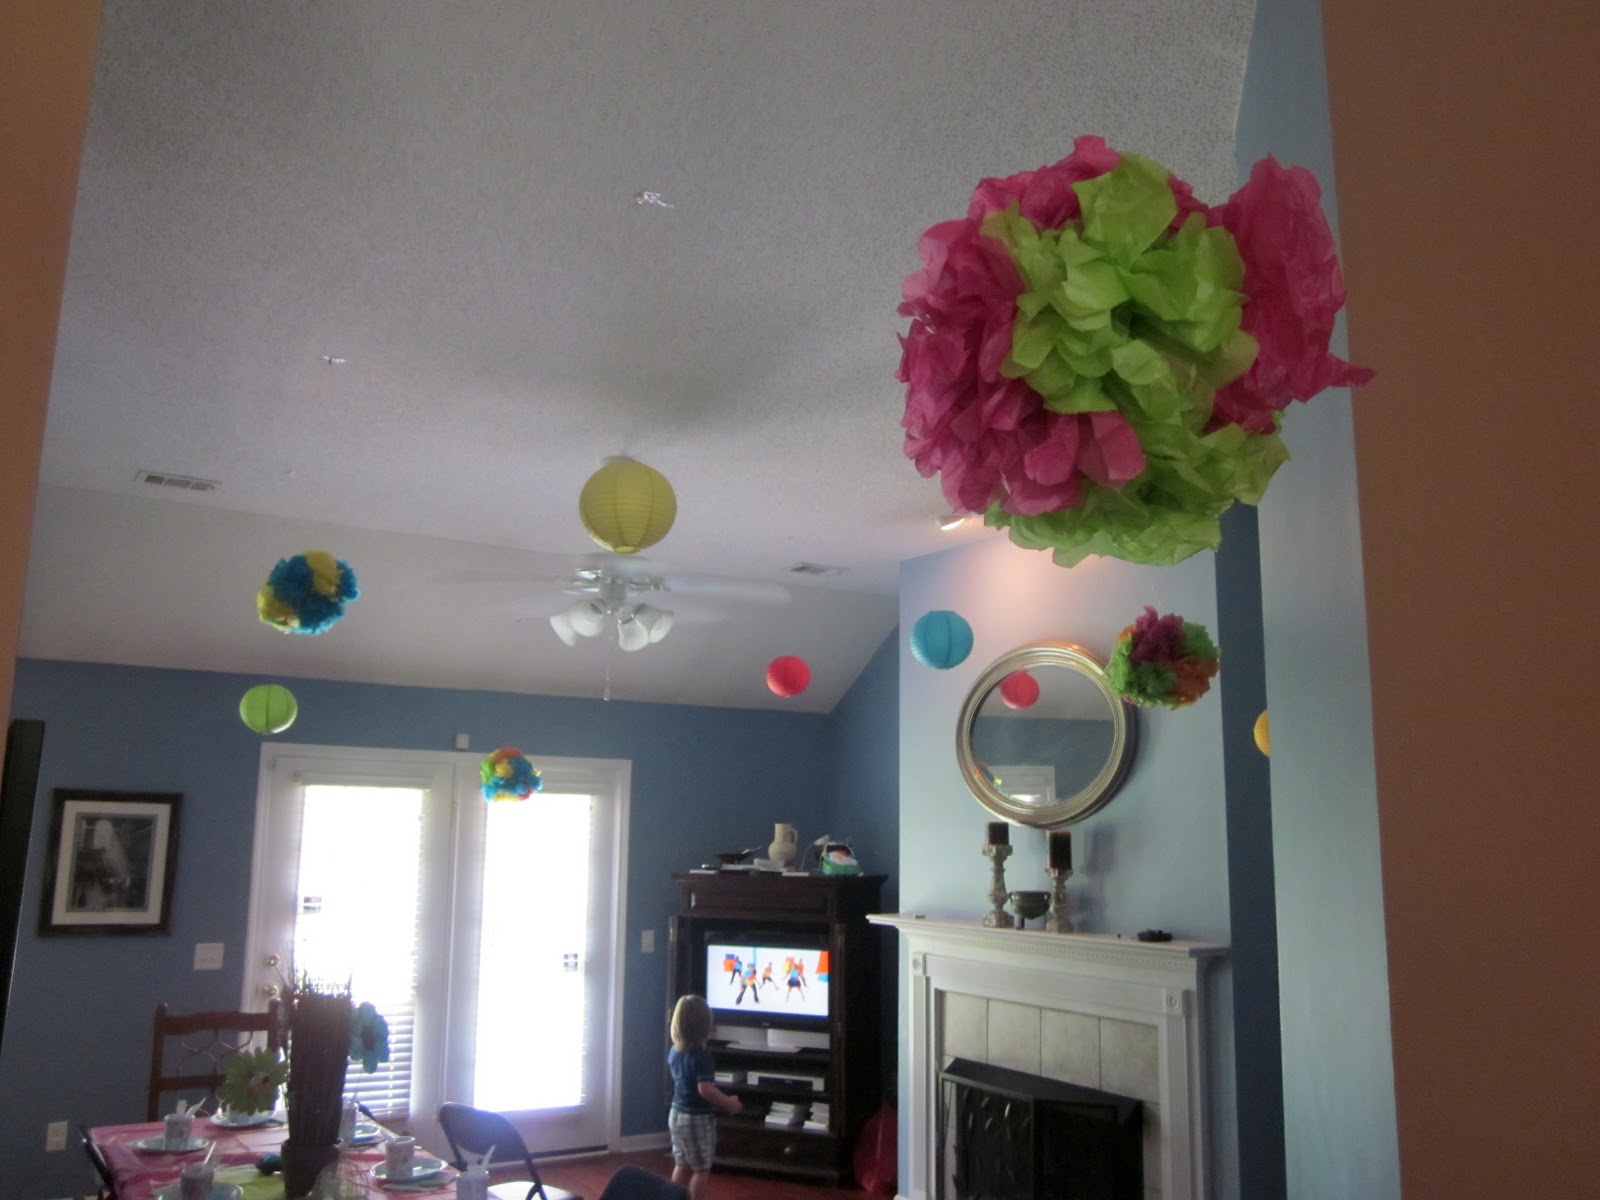
I found the table clothes on sale at different places. I went with the bright spring colors. I also wanted these tissue balls I see everywhere to hang from the ceiling along with Chinese lanterns. So instead of purchasing...which I know I could have done and racked up more of a tally...I made them with the help of my friend Erin. :)
 Tissue balls (Pom Poms)--------->
I found out how to make them online...very simple.
I wanted the party to be full of whimsy from the moment the kids arrived. Being a former Pre-K teacher for 8 years...I guess I think like a kid. :) I borrowed a few things from my daughters. This tree tent ....a fairy tent they got form Target one christmas. The tunnels we had for a long time. That became going down the rabbit hole. :) Inside the tree stump the children found a table with a little tiny key (I found these steampunk jewelry keys on Etsy) and I had tied a pretty ribbon to them. I had friends make sure the kids went in one at a time.


 |
| My daughter holding the tiny key. |
 I talked many of my actor friends into helping me with the party.
:) Love these guys! So I started to research costumes. When you do
this....LOOK!!! I found the Alice and and the Red Queen costume for
half off on a site. I think I paid about 12.00-14.00 each for them. I
actually wanted the older versions...but they were not on sale and the
kids really don't care.
I talked many of my actor friends into helping me with the party.
:) Love these guys! So I started to research costumes. When you do
this....LOOK!!! I found the Alice and and the Red Queen costume for
half off on a site. I think I paid about 12.00-14.00 each for them. I
actually wanted the older versions...but they were not on sale and the
kids really don't care.


 I made this wand for the red queen out of a dowel, red glitter, cticky back foam, four pictures of the red queen playing cards that I glued back to back and a red feather I found at Micheals in the Styrofoam area.
 The rest of the costumes i found here and there. I found playing card for 20 at a costume shop. I had my husband wear the card and "painted the roses red." And the March Hare I found a hat online as well ----------> As my husband modeled so graciously here. lol I also bought him a little rabbit face like the white rabbit but in brown at the costume shop.
 I made a can of "paint" and a paint brush with red paint on it. I actually used red paint and had it dry on a big brush and painted the inside of a small paint bucket red and made it look like it was spilling out. I also bought white fake roses in a bunch and painted some of them red and some half red. You can see it below.


As for the white rabbit, he made just a few appearances throughout the party as he ran through shouting "I'm late, I'm late!!!" I got a close family friend of ours to do it. He was great!!! Found this rabbit hat online. I found the clock and bunny face in a costume shop for under 5.00 each.
As for the Mad Hatter...I don't think you can skimp on his costume, unless you plan to make it yourself. You have to at least get the wig and make or buy a great hat. What I was planning on doing was making him his hat out of the big St. Patrick Day hats you see at the store that are top hats. I was going to cover it and spruce it up, but I got sick, as I mentioned before and ran out of time. So, we rented the costume with all the fixings for 50.00 at a costume shop. I also bought him a GREAT mug I found at a Home Goods store. It had a little bird on it that you can not see in these pictures.


Before the actors did this, I had them come over a week in advance and watch the old and new version of Alice in Wonderland to get ideas about their characters. You can also just have them search their characters on Youtube.
So the scenario went as follows: once all the kids were inside...Alice comes wandering into the tea party (she was hiding in my room). She talks about seeing the White rabbit and has anyone seen him. A few minutes later the rabbit runs in and then out yelling he's late. The only people at the party at this point are Alice, the Mad Hatter, and the March Hare. Then my husband came out painting the roses red. He came running out saying he was painting the roses red and had an improv dialog with Alice. A few minutes later...the Red Queen crashed the party! OFF WITH YOUR HEADS!!!!! The rest of the party was all the actors interacting (improv) with one another and then the red queen took the kids outside to play croquet. It was a great day, even though I was so sick. I have saved most everything so we can do it again out here in MA. Now....I need to find new actor friends! :) My friends in Savannah were amazing!!! They should have all gotten paid hundreds for what they did and an academy award as well!


USE YOUR IMAGINATION!!!!
I hope this gives you lots of ideas! Here are some more pictures of the party if you want to take a look see: photobucket.com/madteaparty
And for giggles...I have videos of some of the acting at the party on youtube: http://www.youtube.com/user/lillollipopsdesigns
No comments:
Post a Comment